Hi,
I just finished this job. It took me a while to figure this out so i am sharing..
I did not want to remove the wheel. One key thing i got from this thread was to use two wrenches, one 19 and then another larger one connected together. This is a pretty well known trick and i had to google it to see and understand it. Also, in my case, when i connected the 19 mm, it was angled too far down and i had to use a wrench to leverage the 19 up above the front bumper assembly so that i could connect the larger wrench to the 19 (3 wrenched used at the same time). From that point on, i kept pushing up towards the windshield and put a wooden block on top of the bumper/plastic top to hold the larger wrench in place. Be sure to use a larger wrench that is not so large that it can slip off of the 19. The wrenches need to lock together, otherwise potential injury.
Once the old belt was off, i removed the wrenches.
This is the belt routing. The red route is used if there is no ac.
http://www.8thcivic.com/forums/members/309394-albums13130-picture84610.jpg
image
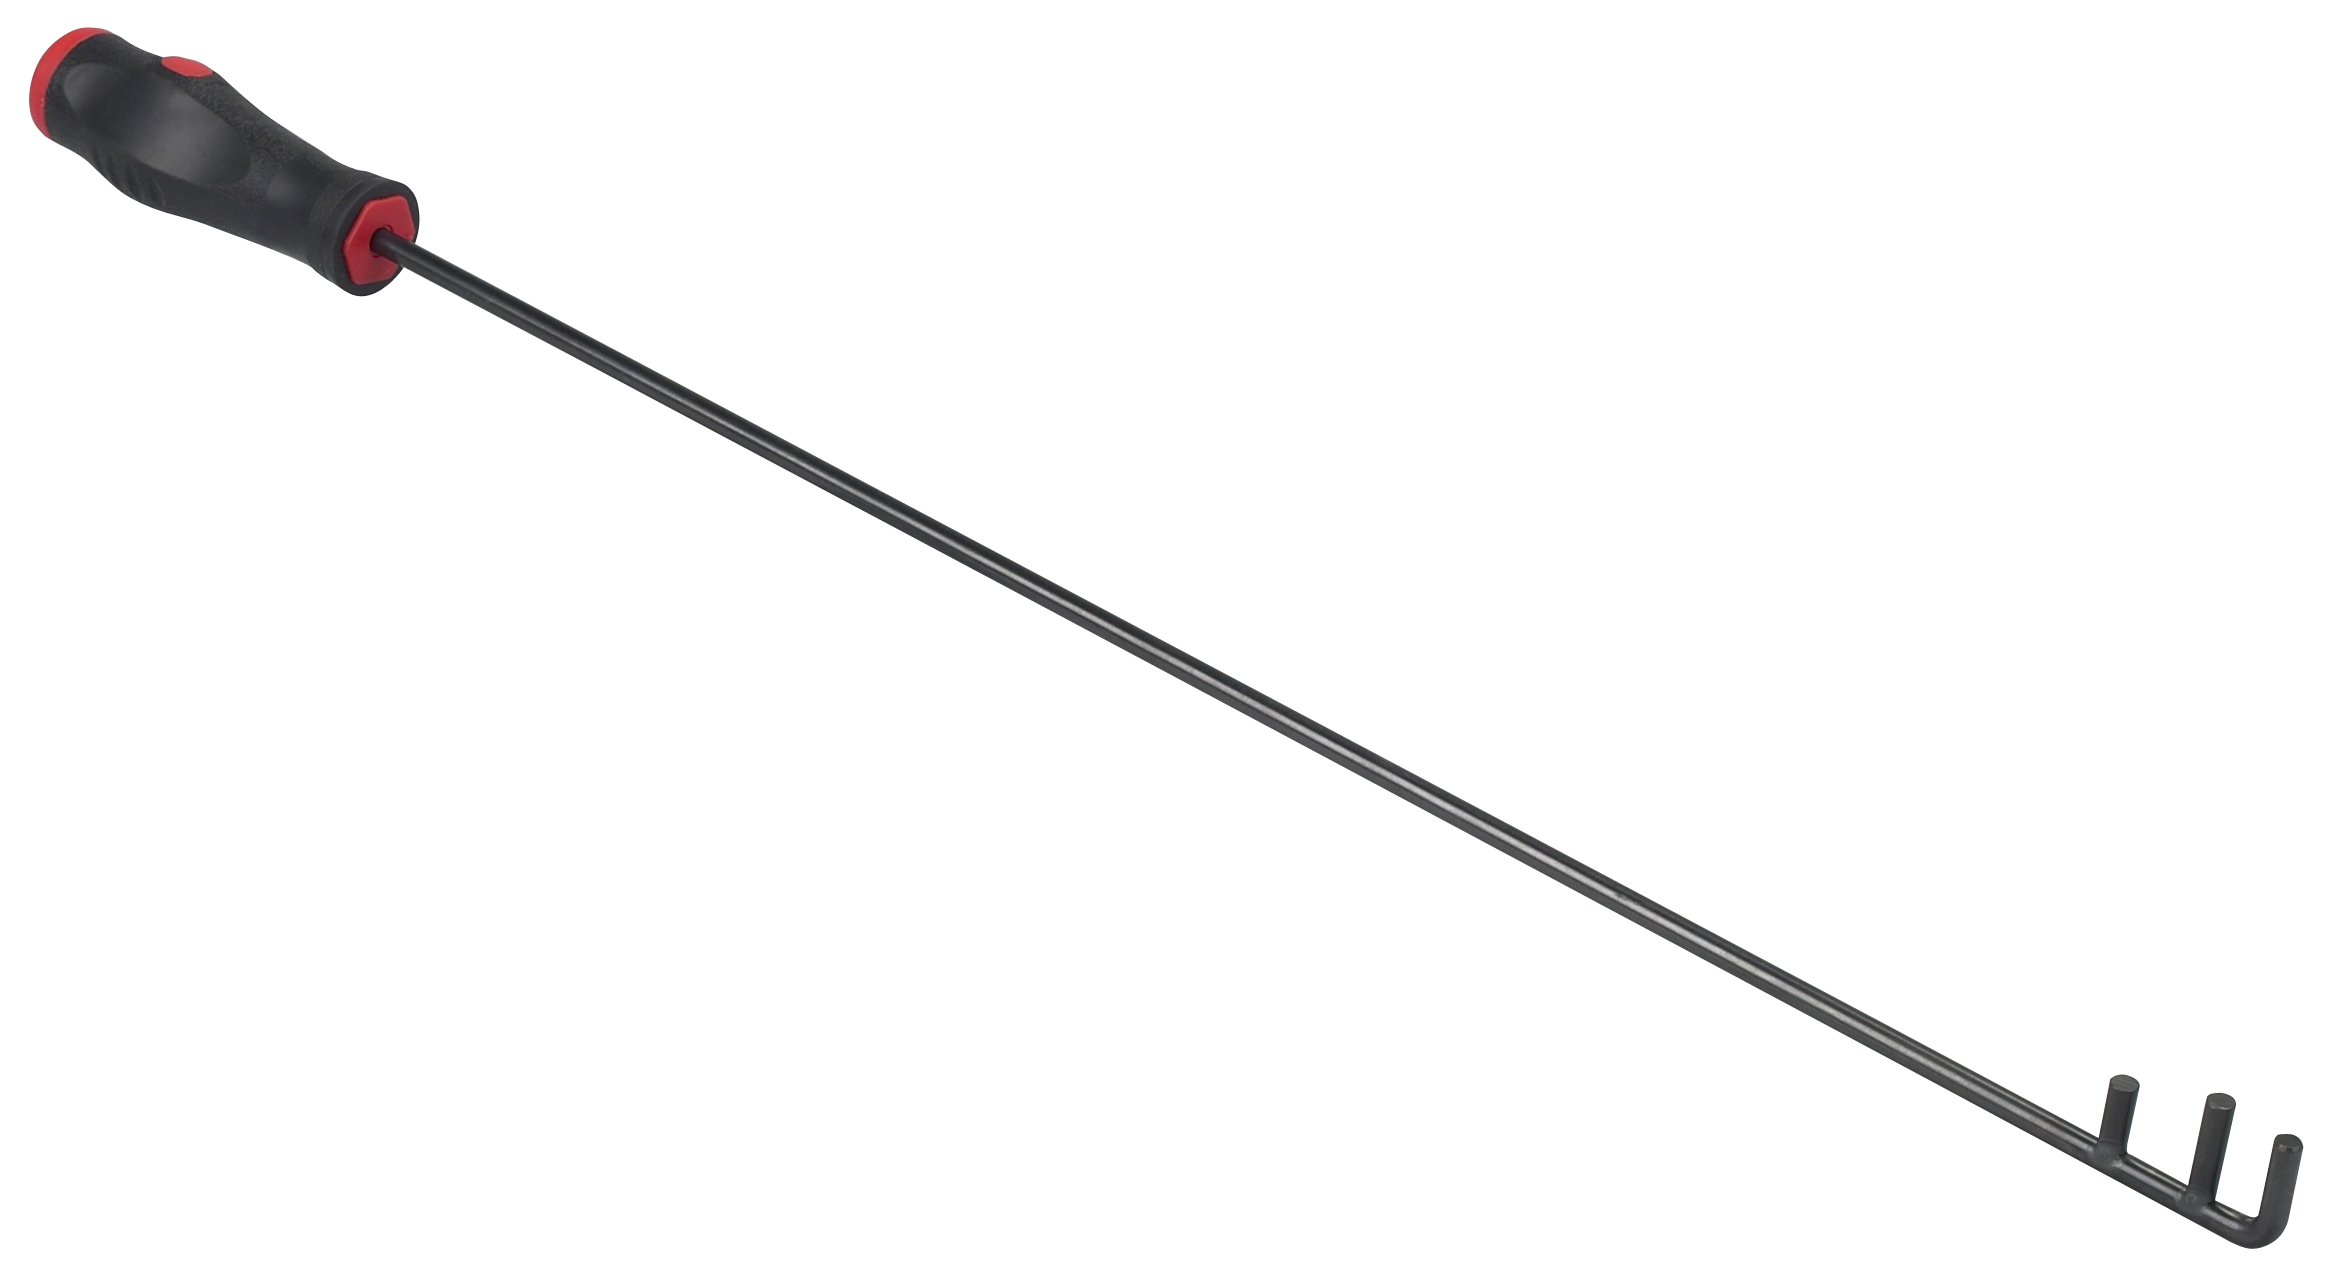
First we need to align the belt on the upper and lower pulleys. This can be done with a serpentine belt tool:
https://www.otctools.com/sites/default/files/7654A_9263_0.jpg
image
I used a home made one with some old thin steel tubing, a metal u clamp and some tape.
Its fairly easy to work the belt into this position. Note that the leftmost pulley is close to the car wall, and once in place, the car wall keeps the belt from slipping off the pulley. So basically the left side of belt is held in place naturally.
http://www.8thcivic.com/forums/members/309394-albums13130-picture84618.jpg
image
The next step is to keep the belt from slipping off of the CS pulley. It might slide off a bit, but as long as it does not slide off completely, its fairly easy to slip it back in place. I used a 1/2 inch copper tube to hold the belt in place. In the diagram, its illustrated as the vertical line.
http://www.8thcivic.com/forums/members/309394-albums13130-picture84626.jpg
image
I then used the tool to slip the belt around the water pump:
http://www.8thcivic.com/forums/members/309394-albums13130-picture84634.jpg
image
The next step was the toughest one to figure out. The tensioner pulley was the toughest one to put the belt around. If you bend down and look towards the back for the belt between the power steering pulley and the crank shaft pully, grab it in the middle and start pulling it back. Keep the belt somewhat taut when doing this to keep the belt on the pulleys.
http://www.8thcivic.com/forums/members/309394-albums13130-picture84642.jpg
image
Some of the belt might fall off of the crankshaft when you do this, but the tool can be used to put it back on. The main thing is that the vertical bar will keep it mostly in place. If the belt falls off of the crankshaft completely, you will probably need to start over.
This is what it looks like when you have success:
http://www.8thcivic.com/forums/members/309394-albums13130-picture84650.jpg
image
At this point, looping over the AC pulley is fairly easy. Keep the belt taut.
http://www.8thcivic.com/forums/members/309394-albums13130-picture84658.jpg
image
I then used the box wrench trick and the wood blocks to keep the tensioner/pulley open and looped the belt around the alternator pulley. I then checked all the pulleys to make sure that the belt was on properly. If not, loosen the tensioner just enough to push the belt in place.
Hope this helps.


